Create Project
In CloudStudio, a canvas is referred to 📄 as a project. To create a project, 📁 you must first create a folder to manage it.
Please refer to this guide for instructions on how to create a folder.
Three methods to create a project
There are three methods to create a project in CloudStudio:
Using a template allows you to quickly create cloud infrastructure in categories like Landing Zone, MSA, Load Balancer, Ubuntu Virtual Machine, CDN. For more details about templates please refer to this guide.
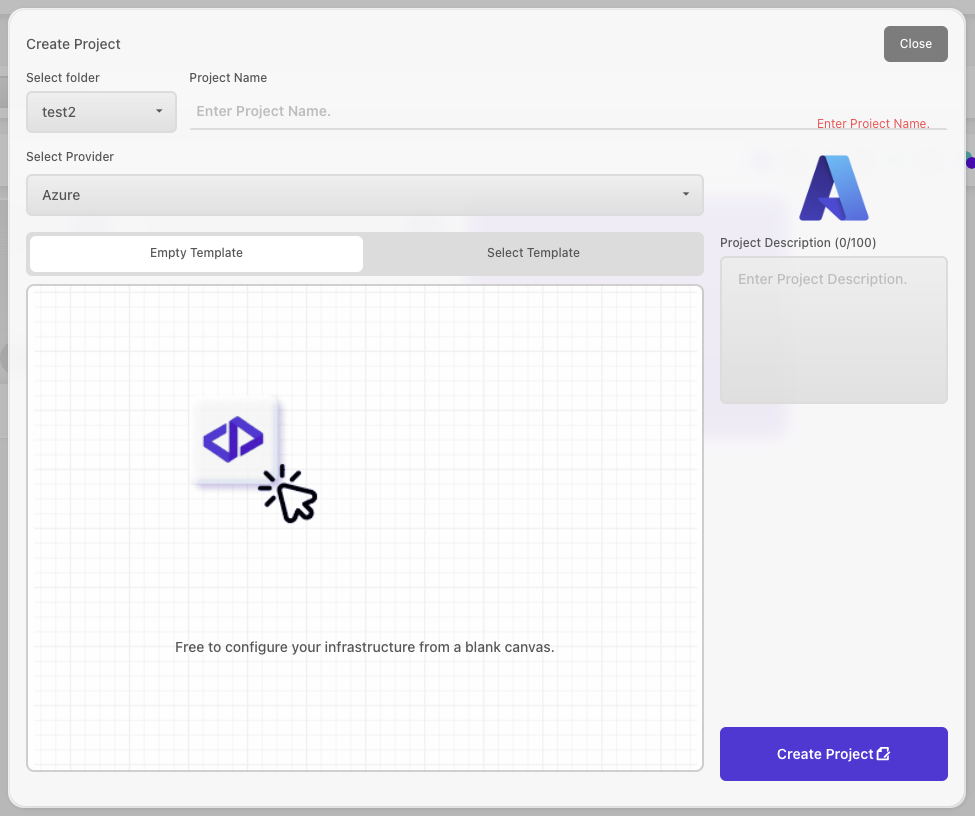
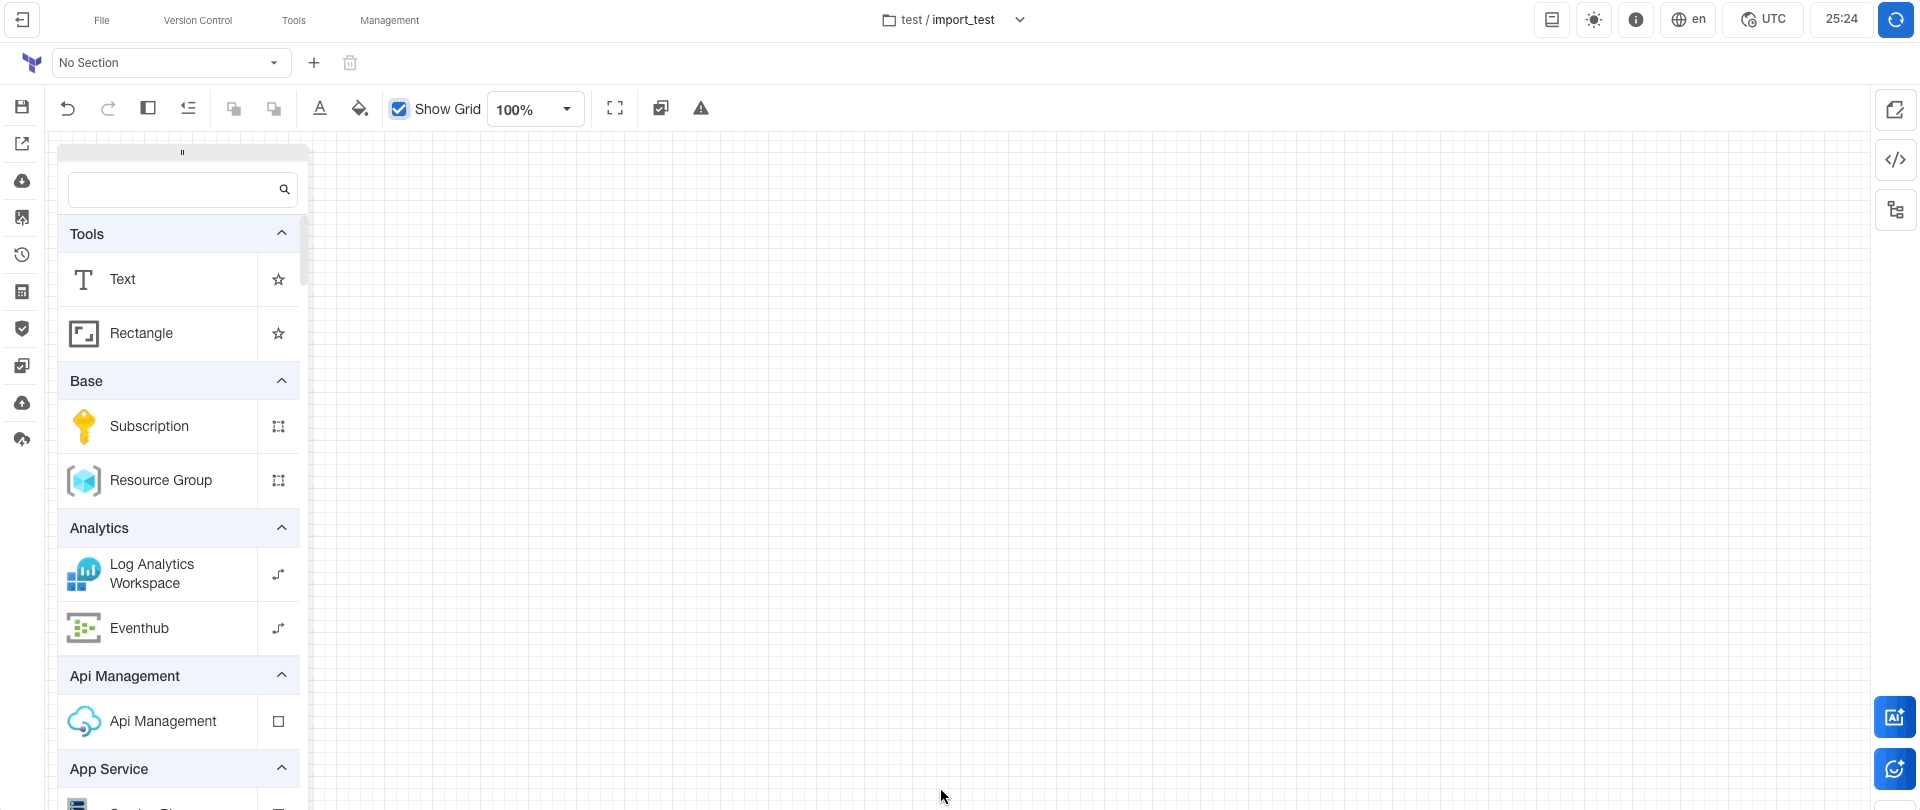
If you prefer to configure the canvas yourself without using a templateyou can create an empty project. You can then build your cloud infrastructure by dragging and dropping the resources you want onto the blank canvas.
If you want to import existing infrastructure into the canvas access the canvas and click File > Import to load the infrastructure.
Create from a Template
- Click the
Create Projectbutton on the templates page to open the project creation popup.

- Enter the
Project Name. The project name must meet the following criteria:
- English, Korean, Numbers allowed
- Without Space
- 2 to 12 digits
- Select a
Folderto contain the project.

- Enter a
Descriptionfor the project. You can input up to 100 characters.
- Select the
CSP(Cloud Service Provider)andCategory.
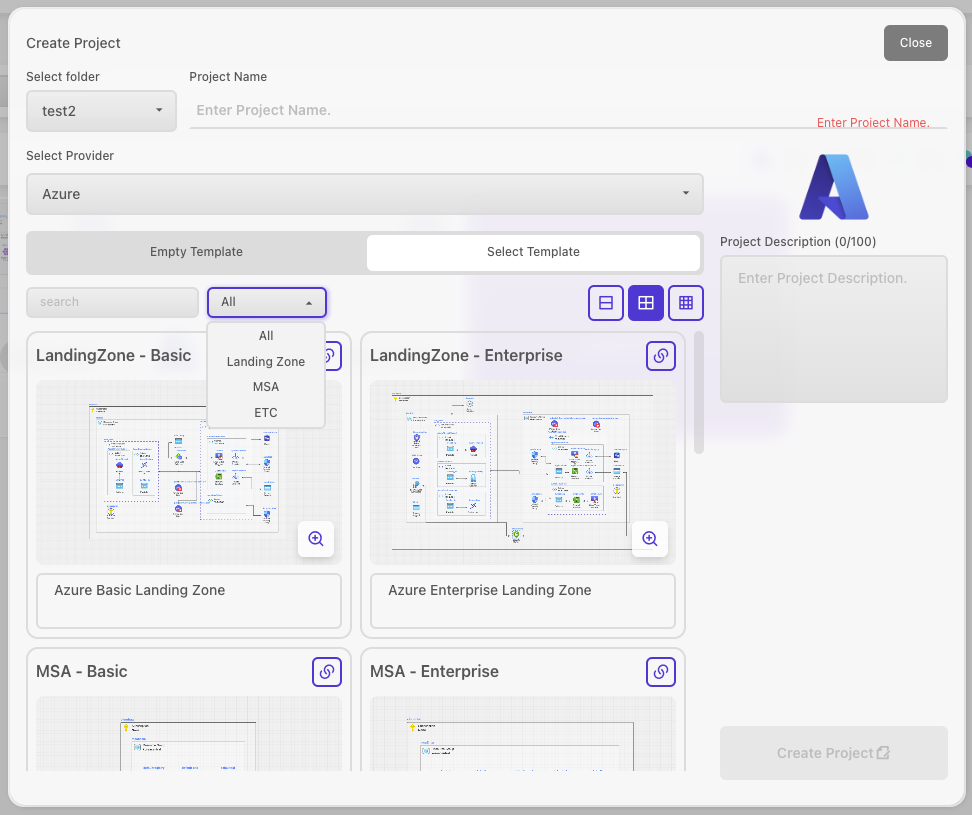
What is a CSP?
CSP stands for Cloud Service Provider, which refers to companies that provide public cloud infrastructure and platform services. The CSPs available in CloudStudio include Microsoft Azure, Naver CLOUD PLATFORM, and Amazon Web Services.
- Click the
Create Projectbutton.
For detailed information about the available templates, please refer to this page.
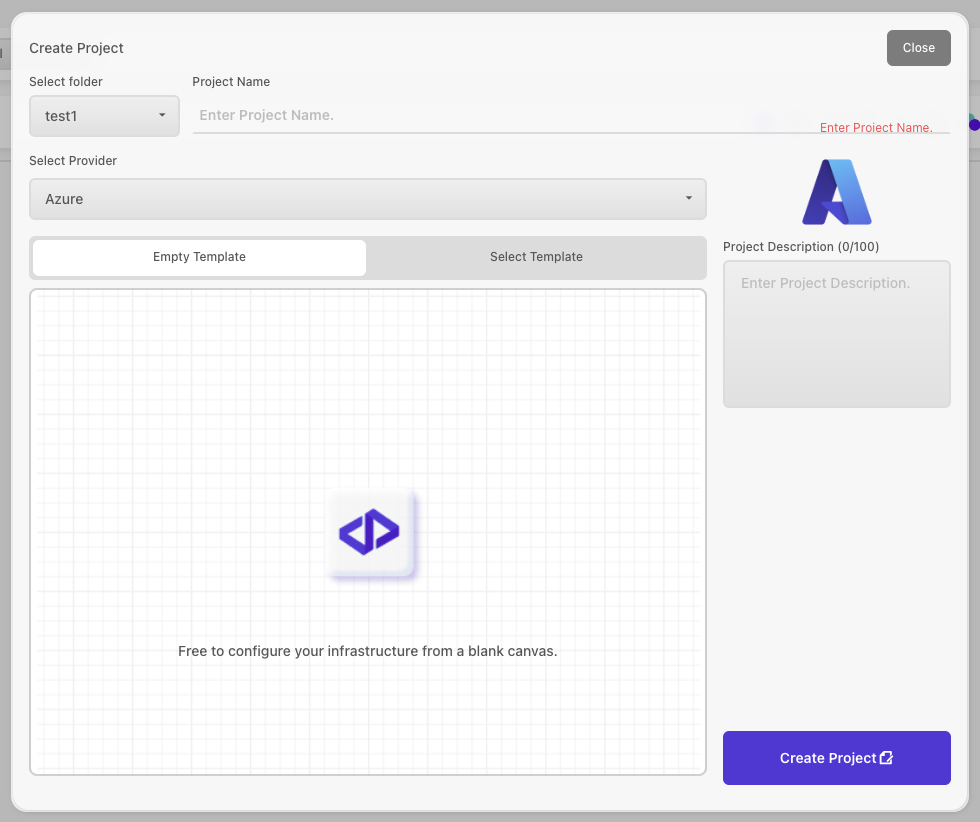
Create an Empty Template
- On the My Templates page, click the
Create Projectbutton to open the project creation pop-up.
- Write a
Project Name. The folder name needs to satisfy the following conditions.
- English, Korean, Numbers allowed
- Without Space
- 2 to 12 digits
- Select a Folder to store the project in.
- Enter a
descriptionfor the project. You can input up to 100 characters.
- Click the
Create Projectbutton.

Import Existing Infrastructure
To import existing infrastructure, you need to access the canvas and first create a blank project. For instructions on creating a blank project, please refer to this guide.
- Click
Empty Templateto access the canvas page. - Click
File > Import. - When the pop-up window appears, select the desired credential from the list of registered credentials.
- Click the
Search Resourcebutton, then choose the desiredSelected resourcesfrom the list. - Click the
Importbutton to complete the import of the existing infrastructure.
To import the infrastructure, a credential must be registered.